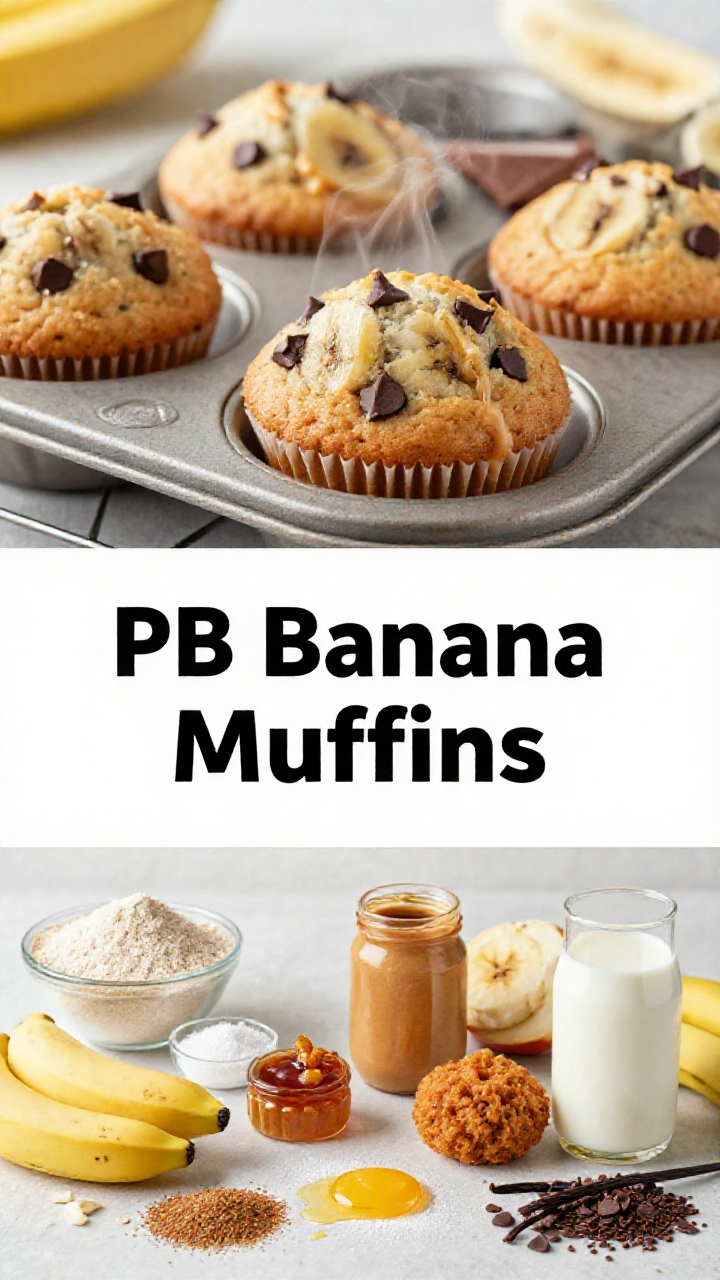
Healthy Gluten-Free & Dairy-Free Peanut Butter Banana Muffins: The Ultimate Batch-Cooking Recipe
Hello, my dears! It’s Maya here, and I’m absolutely thrilled to share one of my go-to recipes with you: Healthy Gluten-Free & Dairy-Free Peanut Butter Banana Muffins. If you’re anything like me, you’re always looking for a delicious, wholesome treat that you can whip up in large batches for your family, friends, or community events. These muffins are exactly that! They’re incredibly moist, packed with flavor, and surprisingly easy to make, even if you’re new to gluten-free or dairy-free baking. I’ve been making these for years, and they’re always a hit. I’m so happy to finally share this recipe with all of you.
I know how daunting it can be to cater to different dietary needs, especially when you’re cooking for a crowd. That’s why I’ve made sure this recipe is not only gluten-free and dairy-free but also easily adaptable to suit various tastes and preferences. Whether you’re baking for a potluck, a bake sale, or simply stocking up your freezer with healthy snacks, these peanut butter banana muffins are the perfect solution. This recipe is a lifesaver, trust me!
Why You’ll Love This Recipe
These muffins are more than just a tasty treat; they’re a testament to the fact that healthy food can be incredibly delicious and satisfying. I’ve poured my heart into perfecting this recipe, and I know you’ll love it as much as I do. Here’s why:
- Gluten-Free & Dairy-Free: Perfect for those with dietary restrictions or preferences. No one has to miss out!
- Naturally Sweetened: We use maple syrup and ripe bananas for a touch of sweetness, avoiding refined sugars.
- Moist & Flavorful: The combination of peanut butter, banana, and applesauce creates a wonderfully moist and flavorful muffin that everyone will enjoy.
- Easy to Make: This recipe is simple and straightforward, even for beginner bakers. I promise, you can do it!
- Batch-Cooking Friendly: Easily doubled or tripled for large gatherings or freezer storage. This is where the magic happens!
- Potluck-Approved: These muffins are always a crowd-pleaser, making them perfect for potlucks, bake sales, or community events.
- Freezer-Friendly: Make a big batch and freeze them for a quick and healthy snack whenever you need one.
- Cost-Effective: Uses simple, affordable ingredients that you probably already have in your pantry.
- Community Spirit: Sharing homemade food is a wonderful way to connect with others and spread joy. These muffins are perfect for that!
I’ve made these muffins countless times, and I’m always amazed at how versatile they are. You can customize them with different toppings, mix-ins, or even different types of nut butter. The possibilities are endless! I’m so excited for you to try this recipe and make it your own.
Ingredients: The Heart of the Matter
Let’s talk ingredients! Here’s what you’ll need to create these delightful gluten-free and dairy-free peanut butter banana muffins:
- 1 1/2 cups gluten-free oat flour: The base of our muffins, providing a slightly nutty flavor and wholesome texture. If you need these muffins to be nut-free, ensure your oat flour is processed in a nut-free facility.
- 1 teaspoon baking soda: Helps the muffins rise and become light and fluffy.
- 1/2 teaspoon baking powder: Works in tandem with baking soda to give the muffins an extra lift.
- 1/4 teaspoon salt: Enhances the flavors of the other ingredients. Don’t skip it!
- 1/2 cup mashed ripe banana (about 1 large): Adds natural sweetness, moisture, and that classic banana flavor. The riper, the better!
- 1/2 cup natural peanut butter: Provides a rich, nutty flavor and healthy fats. Make sure it’s the kind with just peanuts and salt.
- 1/4 cup maple syrup or honey: Sweetens the muffins and adds a touch of moisture. I prefer maple syrup for its subtle flavor.
- 1/4 cup unsweetened applesauce: Adds moisture and helps bind the ingredients together.
- 1 teaspoon vanilla extract: Enhances the overall flavor profile.
- 1/2 cup dairy-free milk (almond, soy, or oat): Adds moisture and helps create a smooth batter. Almond milk is my go-to, but feel free to use your favorite.
- 1 large egg or flax egg (1 tbsp flaxseed meal + 3 tbsp water, let sit for 5 minutes): Binds the ingredients together. For a vegan option, use a flax egg.
- Optional: 1/2 cup dairy-free chocolate chips: Because who doesn’t love chocolate chips? These add a touch of indulgence to our healthy muffins.
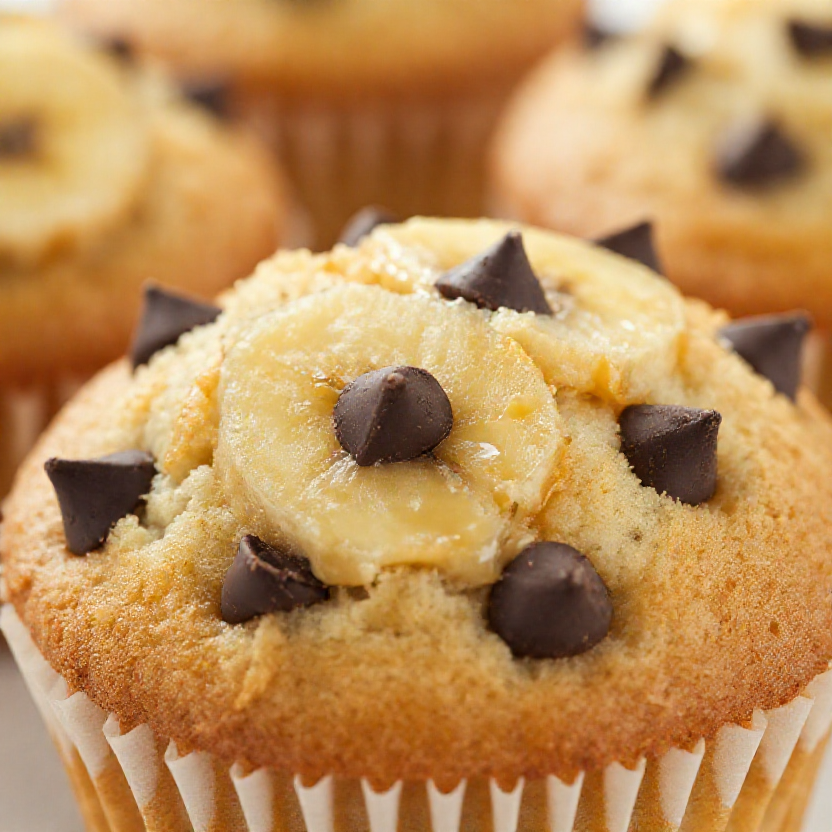
Step-by-Step: Making the Magic Happen
Now that we’ve gathered our ingredients, let’s get baking! Here’s a simple, step-by-step guide to making these delicious peanut butter banana muffins:
- Preheat & Prep: Preheat your oven to 375°F (190°C). Line a 12-cup muffin tin with paper liners or grease it well. This ensures the muffins don’t stick and are easy to remove.
- Dry Ingredients: In a large bowl, whisk together the oat flour, baking soda, baking powder, and salt. This ensures that everything is evenly distributed.
- Wet Ingredients: In a separate bowl, mash the banana. Add the peanut butter, maple syrup, applesauce, vanilla extract, dairy-free milk, and egg (or flax egg). Mix well until combined. Make sure there are no lumps!
- Combine: Pour the wet ingredients into the dry ingredients and mix until just combined. Do not overmix! Overmixing can lead to tough muffins.
- Add Chocolate Chips (Optional): If using, gently fold in the dairy-free chocolate chips.
- Fill the Muffin Cups: Divide the batter evenly among the prepared muffin cups, filling each about 2/3 full. This allows the muffins to rise without overflowing.
- Bake: Bake for 18-20 minutes, or until a toothpick inserted into the center comes out clean. Keep an eye on them to prevent burning.
- Cool: Let the muffins cool in the tin for a few minutes before transferring them to a wire rack to cool completely. This prevents them from becoming soggy.
And there you have it! Delicious, healthy, and easy peanut butter banana muffins that are perfect for any occasion. I made these for a bake sale last week, and they were gone in minutes! I’m so glad I can share this recipe with you.
Pro Tips for Perfect Muffins
To ensure your muffins turn out perfectly every time, here are a few of my tried-and-true pro tips:
- Use Ripe Bananas: The riper the bananas, the sweeter and more flavorful your muffins will be.
- Don’t Overmix: Overmixing the batter can lead to tough muffins. Mix until just combined.
- Measure Accurately: Accurate measurements are crucial for baking success. Use measuring cups and spoons, and level them off.
- Use Room Temperature Ingredients: Room temperature ingredients combine more easily and create a smoother batter.
- Check for Doneness: Use a toothpick to check for doneness. If it comes out clean, the muffins are ready.
- Cool Completely: Let the muffins cool completely before storing them to prevent them from becoming soggy.
I’ve made so many variations of these muffins over the years, and these tips have always helped me achieve the best results. I’m so happy to share them with you!
Common Mistakes to Avoid
Even with the best intentions, mistakes can happen in the kitchen. Here are a few common mistakes to avoid when making these muffins:
- Overmixing the Batter: This is the biggest culprit for tough muffins. Mix until just combined.
- Using Underripe Bananas: Underripe bananas won’t provide enough sweetness or moisture.
- Overbaking the Muffins: Overbaking can lead to dry muffins. Check for doneness with a toothpick.
- Not Measuring Accurately: Inaccurate measurements can throw off the entire recipe.
- Skipping the Cooling Process: Cooling the muffins properly prevents them from becoming soggy.
I’ve made all of these mistakes at some point, so don’t worry if you do too! Just learn from them and try again. Baking is all about practice and experimentation.
Variations: Make It Your Own
One of the best things about this recipe is how easily it can be customized to suit your tastes and preferences. Here are a few variations to try:
- Nut Butter Swaps: Use almond butter, cashew butter, or sunflower seed butter instead of peanut butter.
- Add-Ins: Add chopped nuts, dried fruit, or shredded coconut to the batter.
- Spice It Up: Add a pinch of cinnamon, nutmeg, or ginger to the batter for a warm, cozy flavor.
- Chocolate Lovers: Use dark chocolate chips or chunks instead of dairy-free chocolate chips.
- Fruit Infusion: Add blueberries, raspberries, or chopped strawberries to the batter.
- Coffee Kick: Add a teaspoon of instant coffee powder to the batter for a mocha flavor.
I’ve tried so many different variations of these muffins, and they’re all delicious in their own way. Feel free to experiment and find your favorite combination!
Storage: Keeping Them Fresh
Proper storage is key to keeping your muffins fresh and delicious. Here’s how to store them:
- Room Temperature: Store the muffins in an airtight container at room temperature for up to 3 days.
- Refrigerator: Store the muffins in an airtight container in the refrigerator for up to 1 week.
- Freezer: Freeze the muffins in a freezer-safe bag or container for up to 2 months. Thaw them at room temperature before serving.
I often make a big batch of these muffins and freeze them for a quick and healthy snack. They thaw beautifully and taste just as good as fresh!
Frequently Asked Questions (FAQ)
Here are some frequently asked questions about these peanut butter banana muffins:
- Can I use regular flour instead of oat flour? Yes, you can, but the texture will be different. I recommend using a 1:1 gluten-free all-purpose flour blend if you want to keep them gluten-free.
- Can I use honey instead of maple syrup? Yes, you can. Honey will give the muffins a slightly different flavor.
- Can I make these muffins without eggs? Yes, you can use a flax egg (1 tbsp flaxseed meal + 3 tbsp water, let sit for 5 minutes) as a substitute.
- Can I add protein powder to these muffins? Yes, you can add about 1/4 cup of your favorite protein powder to the batter. You may need to add a little extra liquid to compensate.
- Can I make these muffins ahead of time? Yes, you can make them a day or two in advance and store them in an airtight container at room temperature or in the refrigerator.
I’ve answered these questions countless times, so I hope they’re helpful for you! If you have any other questions, feel free to ask in the comments.
Serving Suggestions: The Perfect Presentation
These muffins are delicious on their own, but here are a few serving suggestions to elevate your experience:
- Warm with Butter: Serve the muffins warm with a pat of dairy-free butter or coconut oil.
- With a Glass of Milk: Enjoy the muffins with a glass of dairy-free milk (almond, soy, or oat).
- Topped with Nut Butter: Spread a layer of peanut butter, almond butter, or cashew butter on top of the muffins.
- With Fruit Salad: Serve the muffins alongside a fresh fruit salad.
- As a Snack: Pack the muffins as a healthy and satisfying snack for school, work, or travel.
I love serving these muffins at potlucks and community events. They’re always a hit, and everyone appreciates the homemade touch. I used oat flour because it’s a great alternative. I hope you enjoy this recipe. Thank you for letting me share it with you!
These banana muffins are so easy to make. I made them last week and they turned out great! I’ve been making banana muffins for years, and this recipe is one of my favorites. I didn’t have maple syrup, so I used honey instead. I used almond milk because that’s what I had on hand. These muffins are a great way to use up ripe bananas. I’m so glad you’re trying this recipe. So I hope you love these butter banana muffins as much as I do. I made these butter banana muffins for a brunch, and everyone loved them. They were gone in minutes! I’m so happy to share this recipe with you. You can easily double this recipe for a larger crowd. These muffins are perfect for a quick and easy breakfast. I’m so glad I could share this peanut butter banana muffins recipe with you! I’m so happy you found this recipe helpful.
Related articles: sugar-free-banana-muffins, no-sugar-added-mini-blueberry-banana-muffins, no-sugar-strawberry-banana-muffins

Healthy Peanut Butter Banana Muffins (gluten free & dairy free)
Ingredients
Method
- Preheat oven to 375°F (190°C). Line a 12-cup muffin tin with paper liners or grease well.
- In a large bowl, whisk together the oat flour, baking soda, baking powder, and salt.
- In a separate bowl, mash the banana. Add the peanut butter, maple syrup, applesauce, vanilla extract, dairy-free milk, and egg (or flax egg). Mix well until combined.
- Pour the wet ingredients into the dry ingredients and mix until just combined. Do not overmix.
- If using, fold in the dairy-free chocolate chips.
- Divide the batter evenly among the prepared muffin cups, filling each about 2/3 full.
- Bake for 18-20 minutes, or until a toothpick inserted into the center comes out clean.
- Let the muffins cool in the tin for a few minutes before transferring them to a wire rack to cool completely.
Notes